Quick Installation Guide
Overview
This guide describes how to install and configure Gladinet’s TrioFox. It provides step-by-step installation and configuration instructions and best practices.
TrioFox enhances existing file servers with mobile access, data protection, business continuity and data migration. TrioFox integrates with on-premises Active Directory to automatically discover all the existing file server shares and publish them as team folders.
TrioFox eliminates VPN headaches for organizations and enables employees to access the on-premises file server shares over the internet without a VPN.
It also addresses business concerns about security, privacy, compliance and control. TrioFox provides data ownership and security back to IT while satisfying the productivity needs of an increasingly mobile workforce.
Triofox runs on a Windows Server platform and includes Windows, MAC as well as mobile clients including iOS and Android devices.
TrioFox benefits include:
- Integration with existing Active Directory environment.
- Maintaining and security of existing NTFS permissions on file server shares.
- Mirroring local network file server shares for team collaboration.
- Provide a virtual drive letter mapping to files and folders.
Additional features include but are not limited to Versioning, File Locking, Audit Trace, File Change Log, Single Sign-On, 2-Factor Authentication, Private or Public Cloud Backup and Migration.
TrioFox server software is built on top of Microsoft Web Platform:
- Windows Server
- IIS (Internet Information Server)
- .NET Framework and ASP.NET
- WCF (Windows Communication Foundation)
- MySQL Community Edition (for all-in-one installation) or SQL Server
TrioFox has three editions. Check below for the feature matrix in each edition.

You can click this link https://triofox.com/pricing/ for TrioFox pricing and feature matrix page. If you have any questions with the setup, please email us at ticket@gladinet.com for immediate support.
Prerequisites
Before you install TrioFox in your environment, verify that you meet all the system requirements.
System Requirements:
TrioFox should be installed on a clean Windows Server machine. It is recommended to not install TrioFox on a machine which already has other application software installed. It is also recommended not to install TrioFox on a domain controller.
Supported Operating Systems:
- Windows Server 2019
- Windows Server 2016
- Windows Server 2012 R2
- Windows Server 2012
- Windows 10 (only for POC and small pilots for less than 10 users)
Supported CPU
- 64-bit Intel or AMD x64 architecture
- 2 - virtual CPUs minimum (4 - virtual CPUs or more are recommended)
Memory
8GB RAM minimum (16 GB or more is preferred) Hard Disk space 100 GB minimum, preferably SSD. This assumes back end file storage is not located on the Triofox server itself.
Installation and Configuration
Step 1: Installation
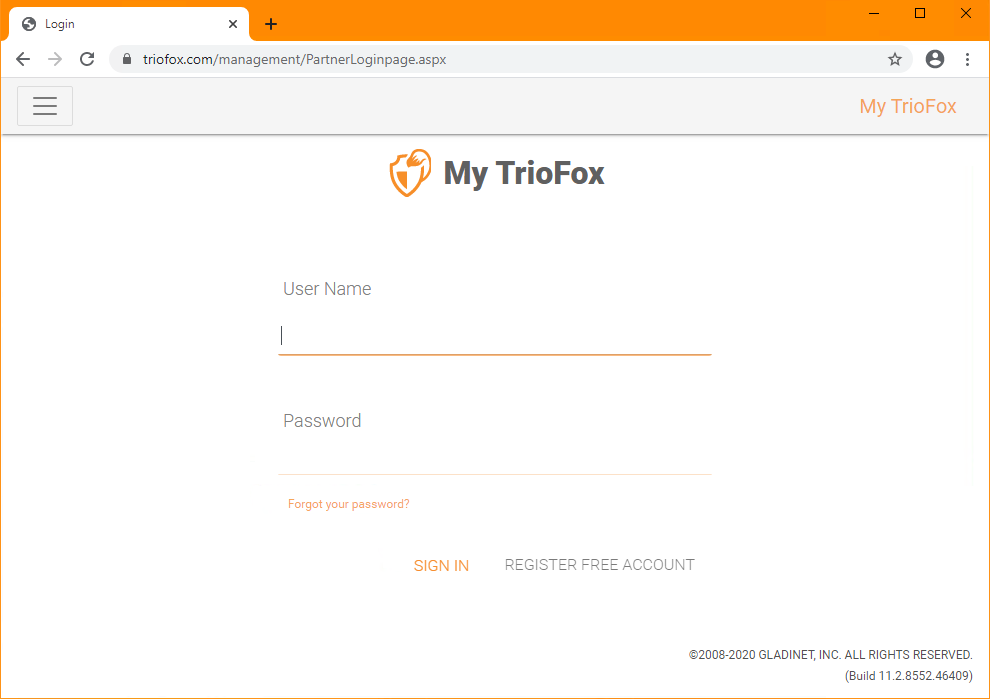
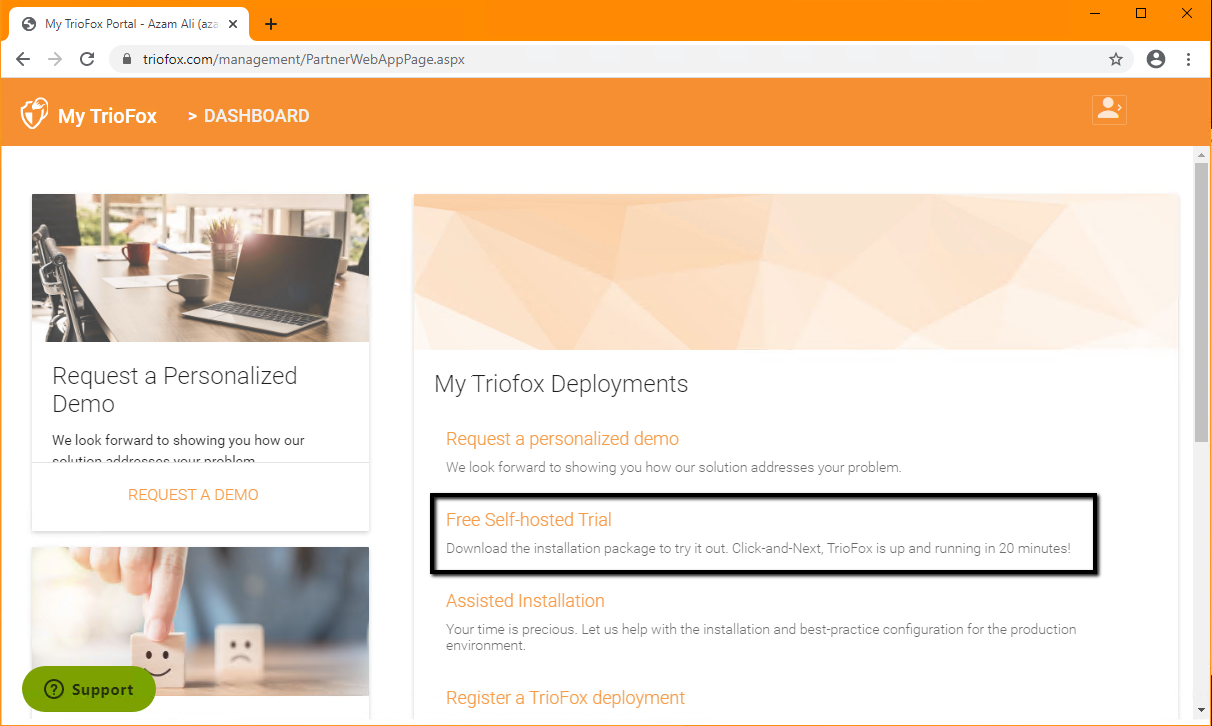
Login to My TrioFox. If you do not have a My TrioFox account yet, click on ‘Register Free Account’ to sign-up.
- Click on Free Self-Hosted Trial and download the latest TrioFox build.
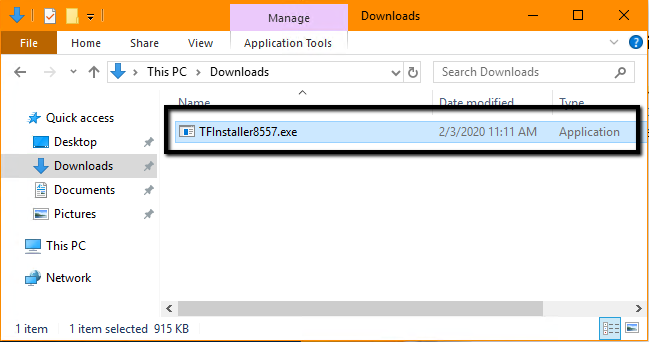
- Double click on the TrioFox installer to start the installation.
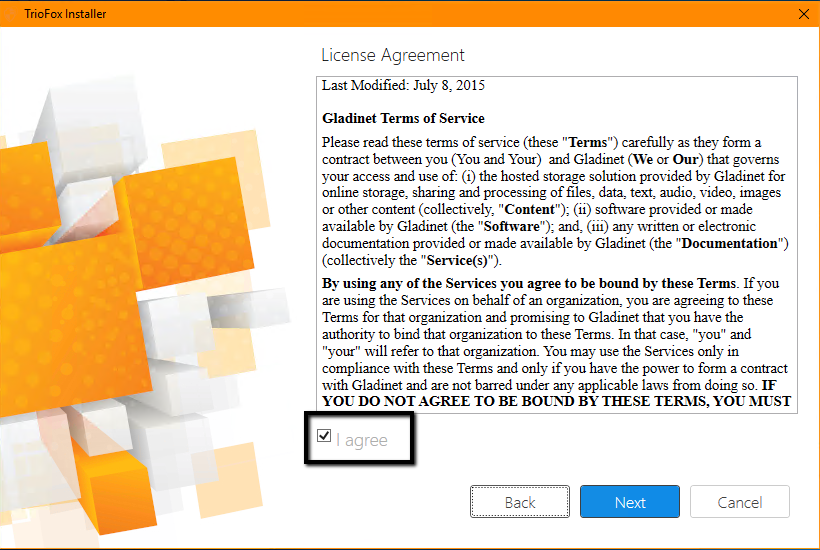
- Click Next on the initial screen.

- Accept the ‘License Agreement’ by clicking on the ‘I agree’ and click Next.
- Selection the path for the installation or choose the default and click Next.
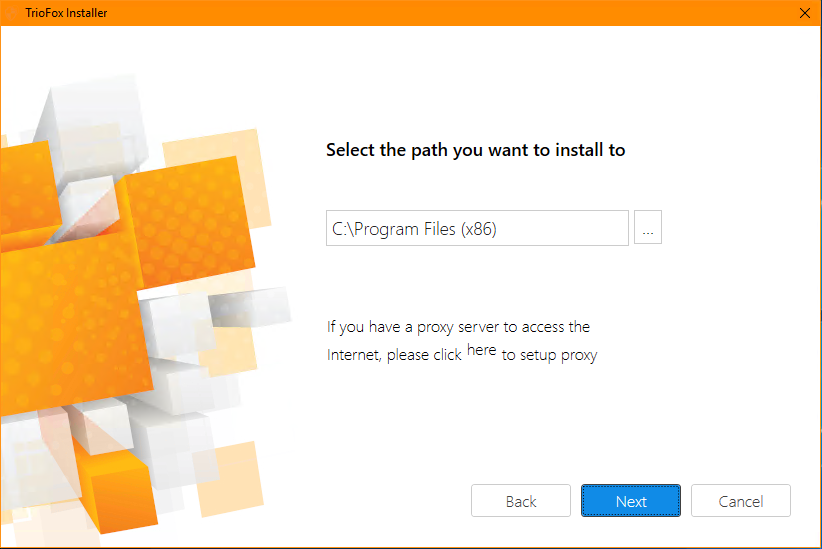
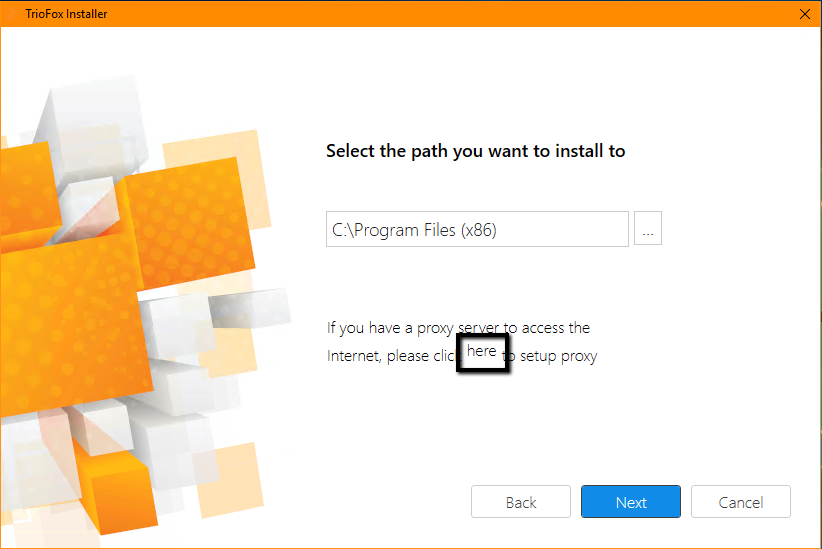
6a. Click ‘here’ in order to setup proxy if required:
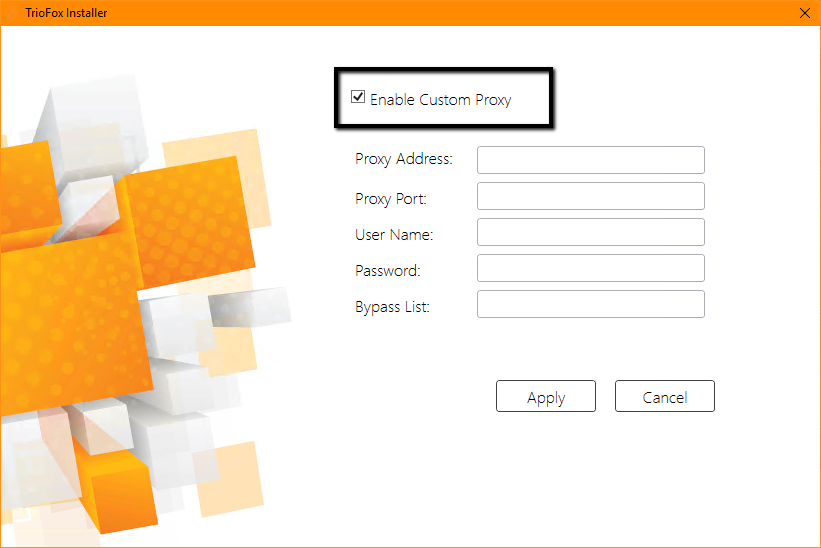
6b. Check the box to ‘Enable Custom Proxy’ and fill in the required fields.
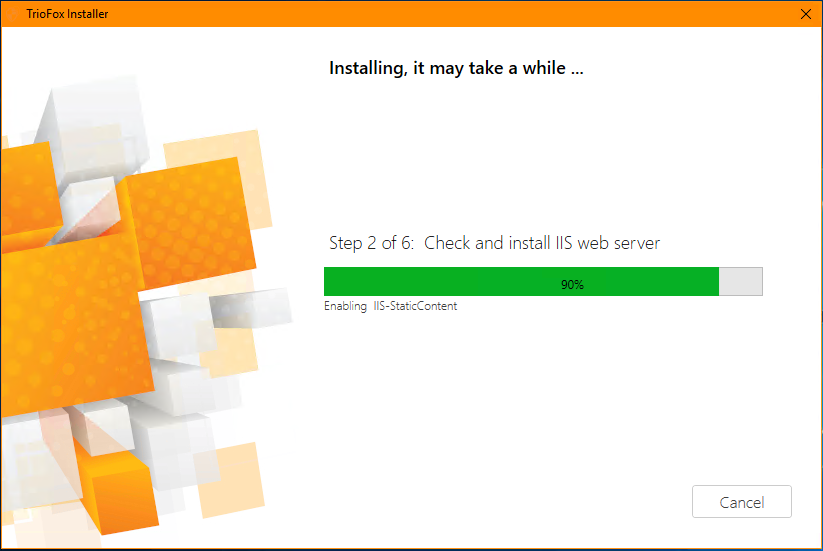
- Click Install to start the installation.
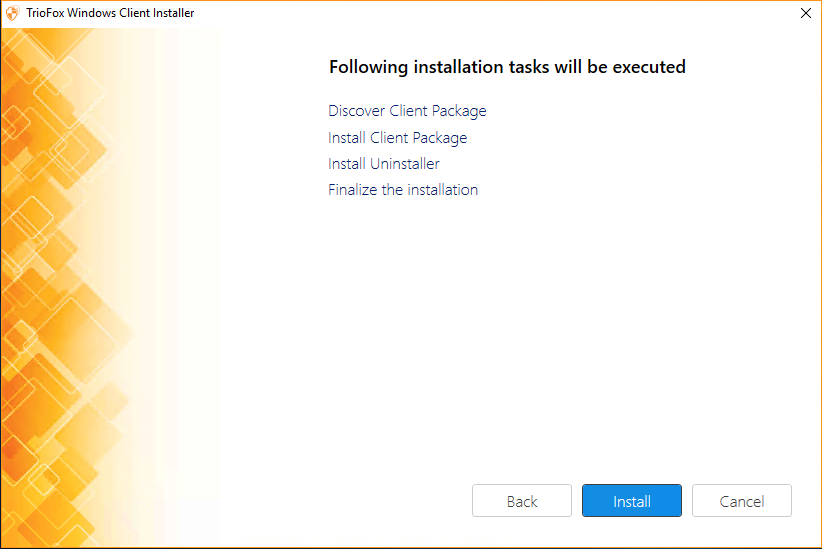
- Wait for the installation finish.
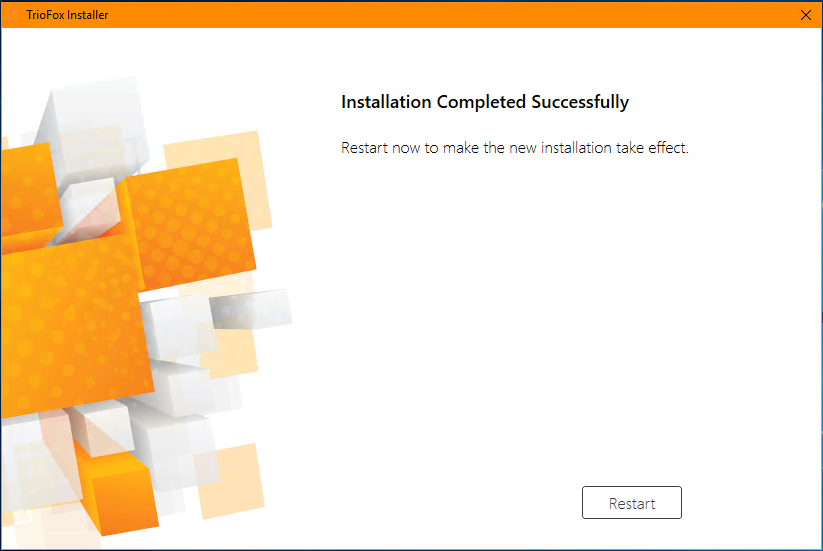
- Click Restart on the Installation Completed Successfully window.
Step 2: Configuration
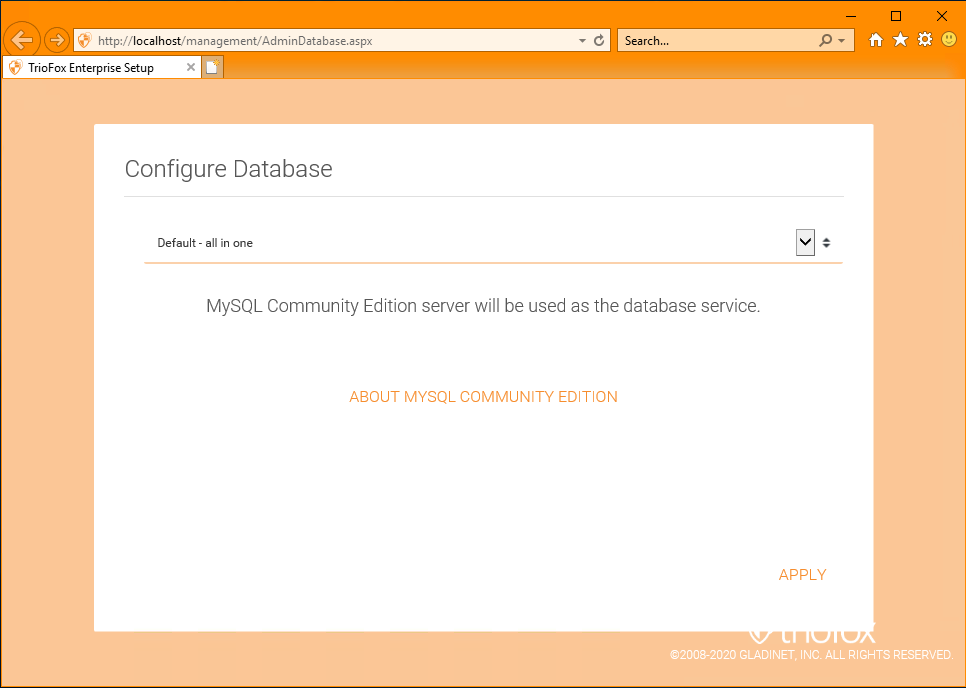
TrioFox will launch the default browser after the reboot and it will go to the configuring page.
- If you have an existing database, use the pull down to select a different option otherwise use the default which will also install MySQL Community Edition database. Click Apply to use the ‘Default – all in one’ database.
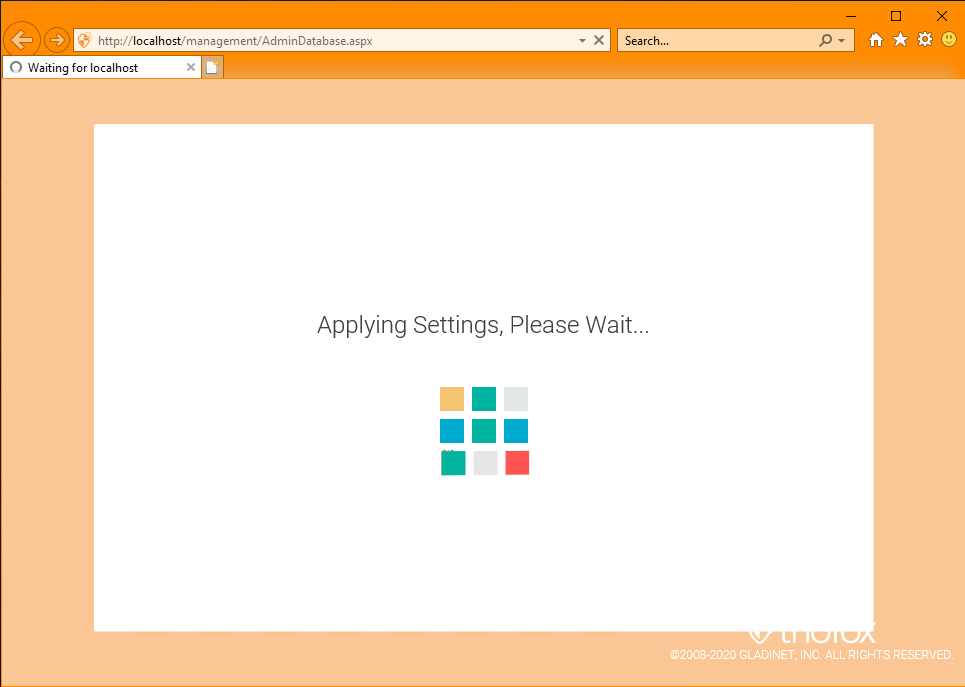
- TrioFox will start the configuration which includes creating the default database.
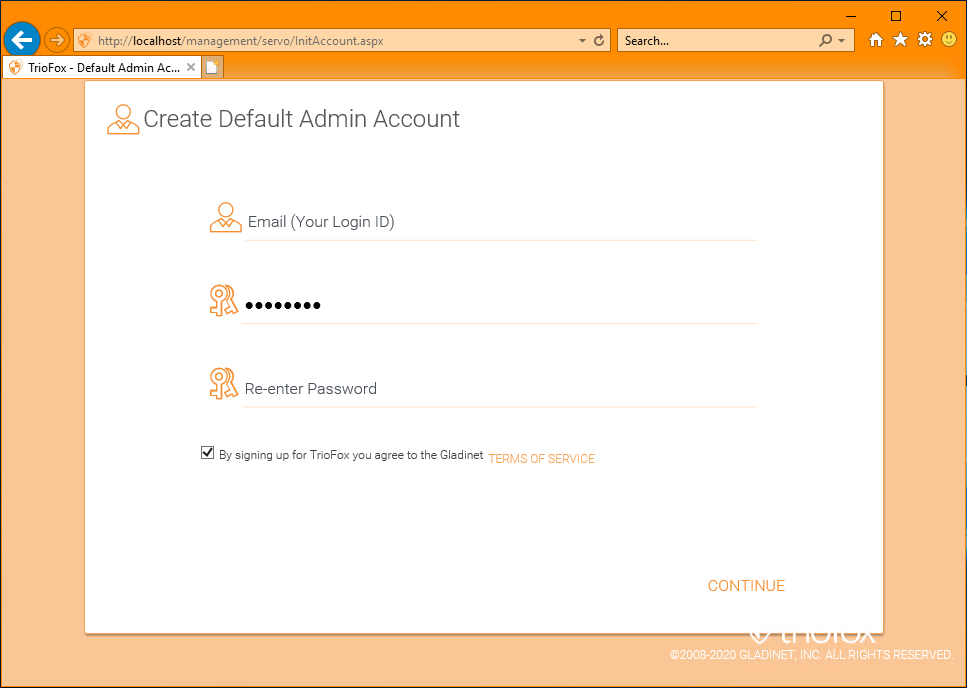
- Enter the default Admin Account Information and click the checkbox to accept Gladinet’s TERMS OF SERVICE agreement. Click Continue to proceed.
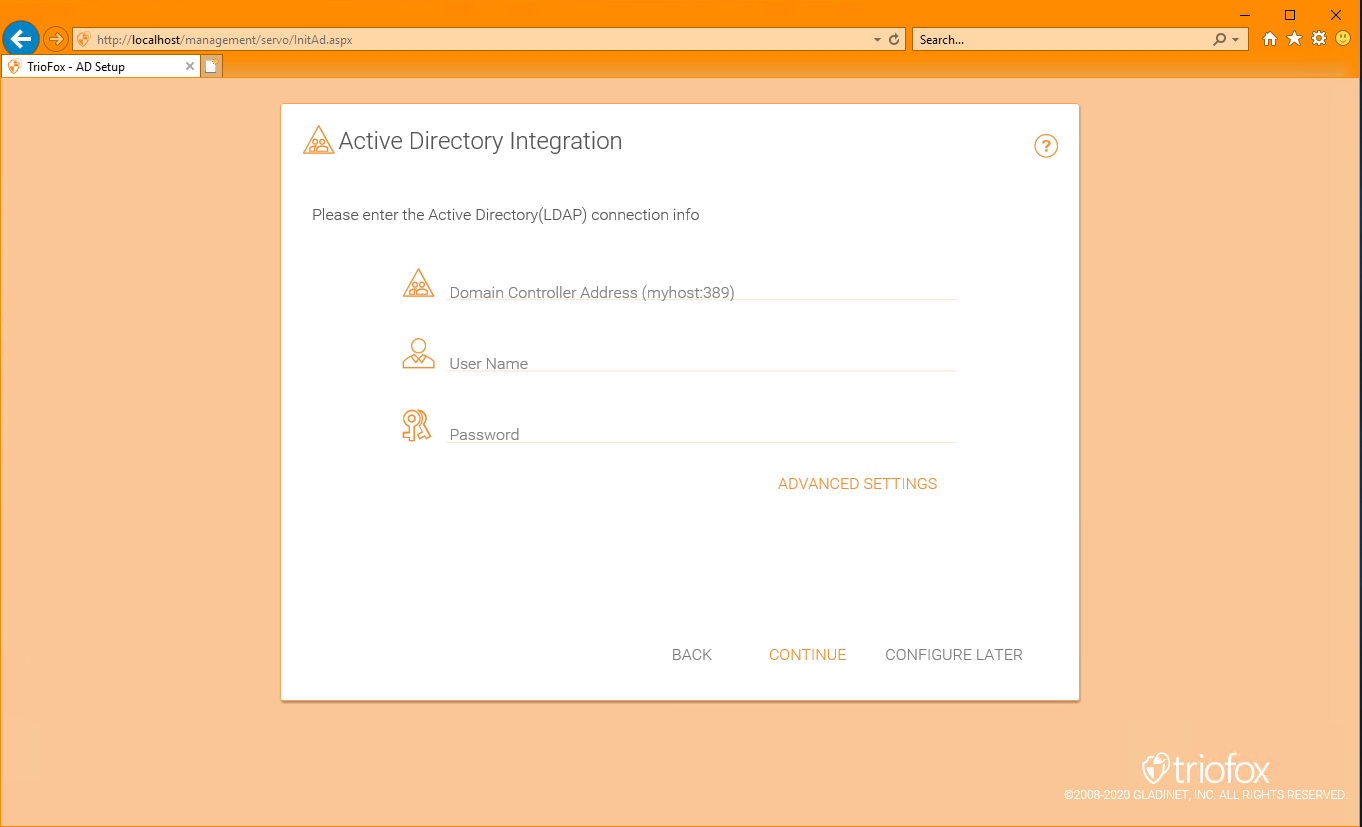
- Enter your Active Directory (LDAP) information on this screen in order to seamlessly connect to your AD environment. You can click on ‘Configure Later’ if you are not ready to connect to your AD environment at this time.
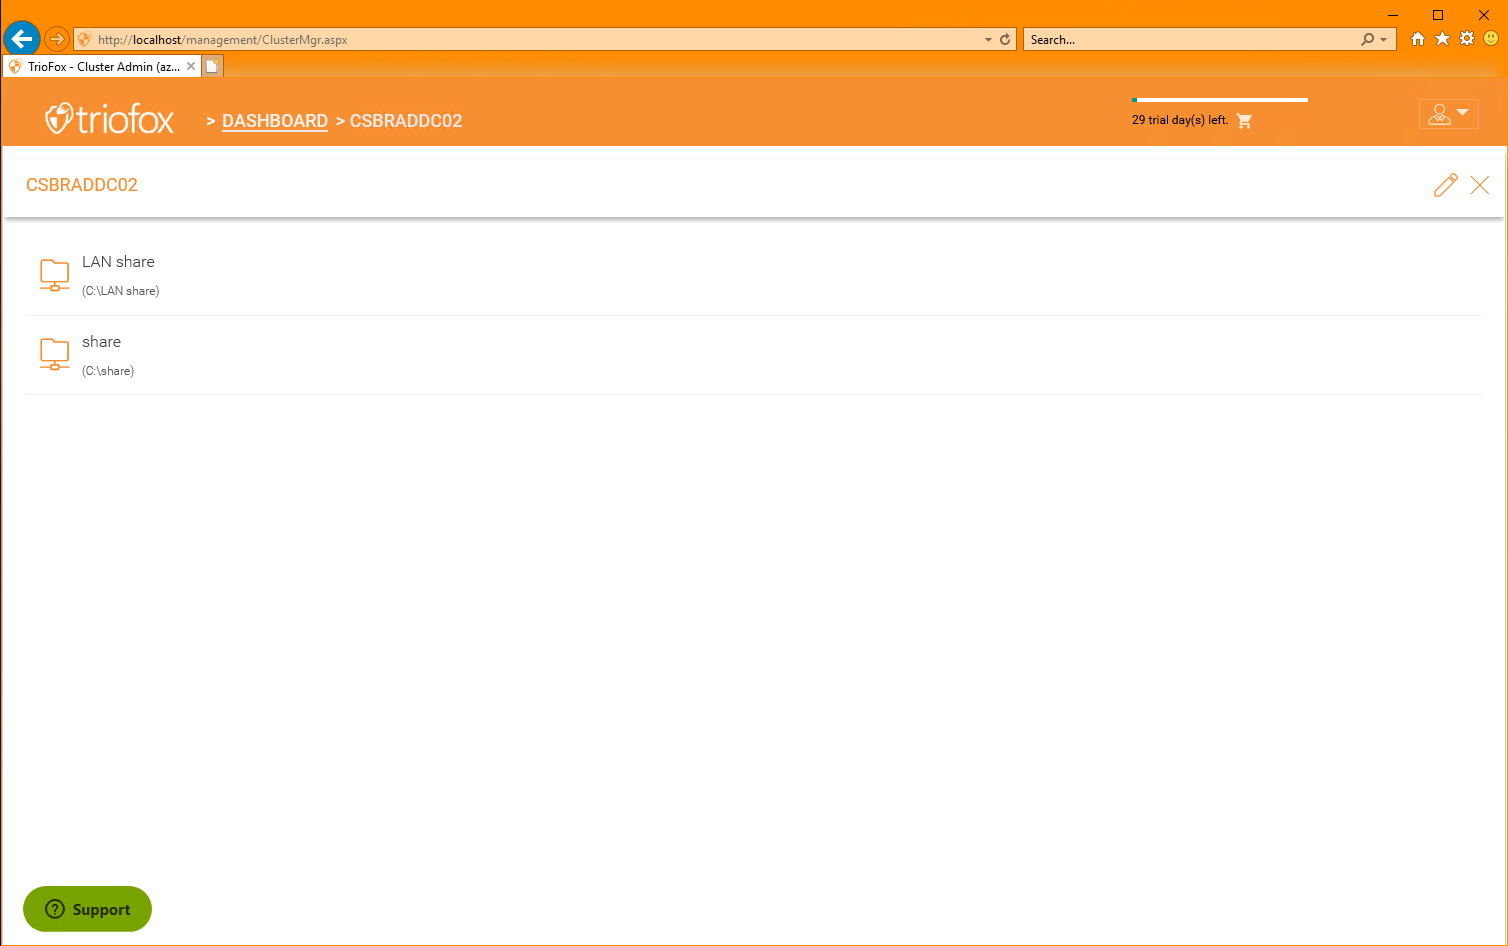
- TrioFox will run the discovery to find the file servers in your network.
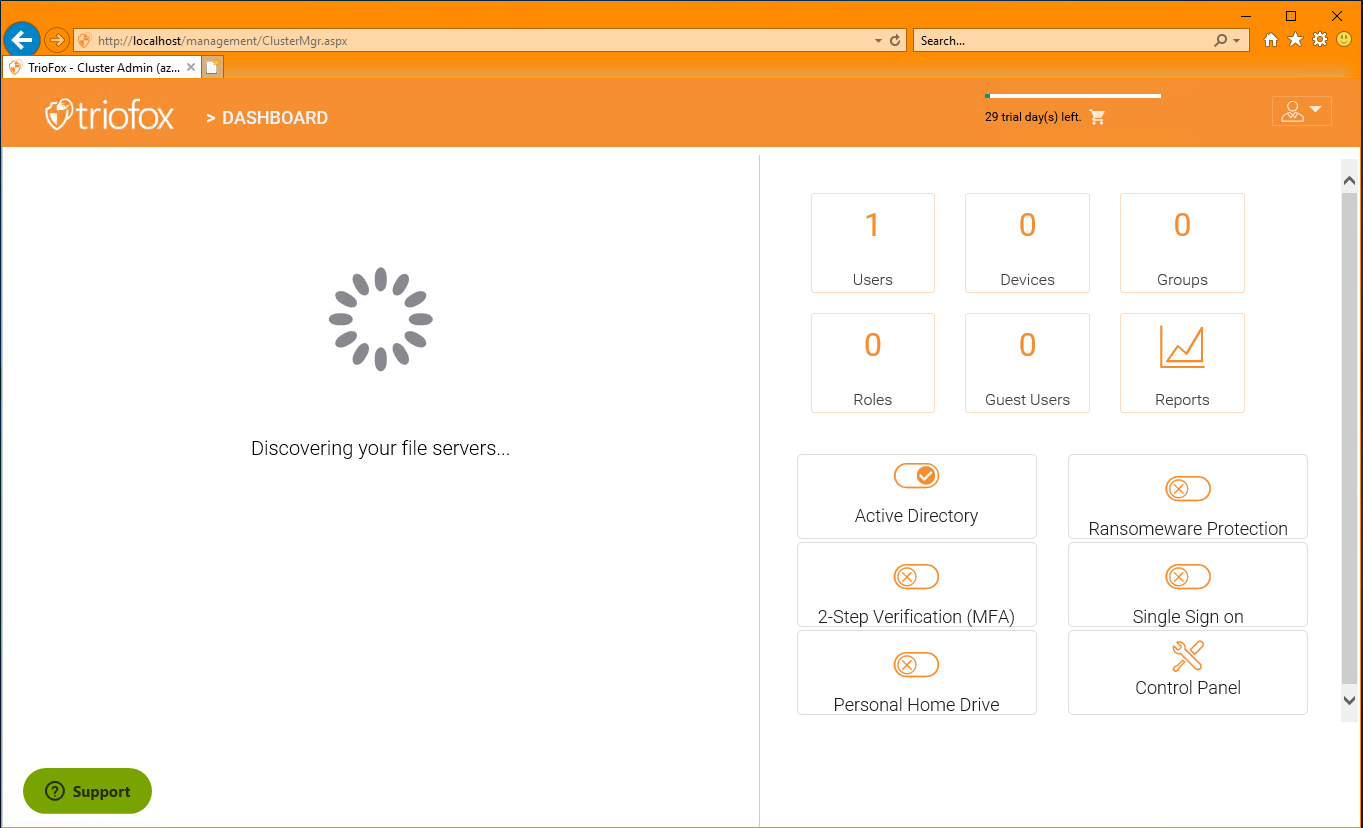
- After the discovery it will list all the servers discovered in your network along with your file servers.

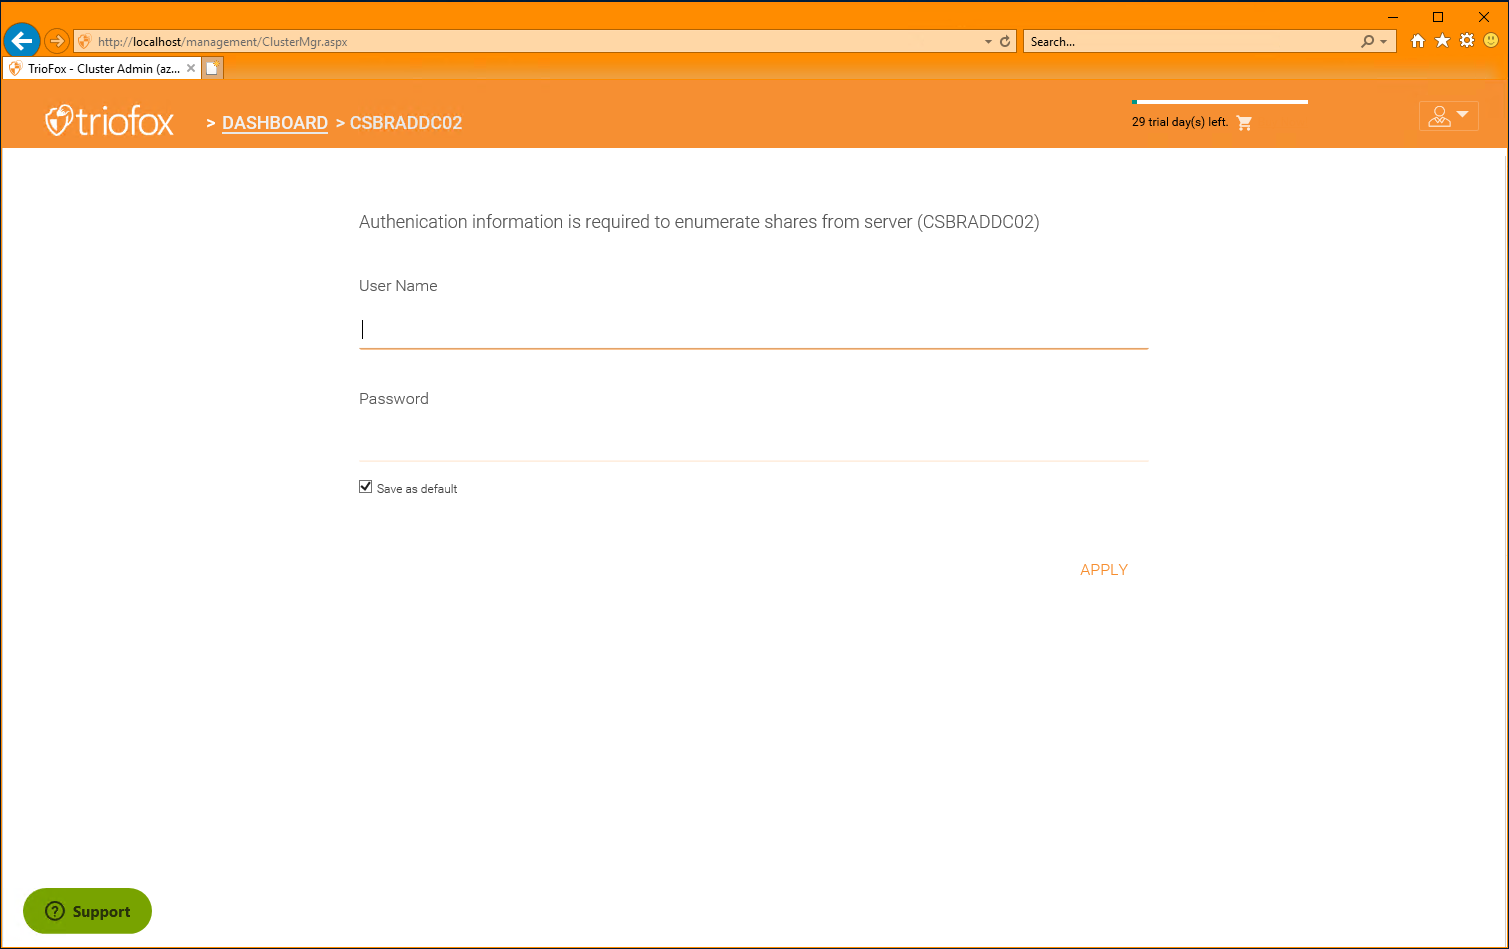
- Browse to one of your file servers and enter the authentication information if prompted as below.
- TrioFox will discover the shares on the selected file server which you can choose to publish as team folders.
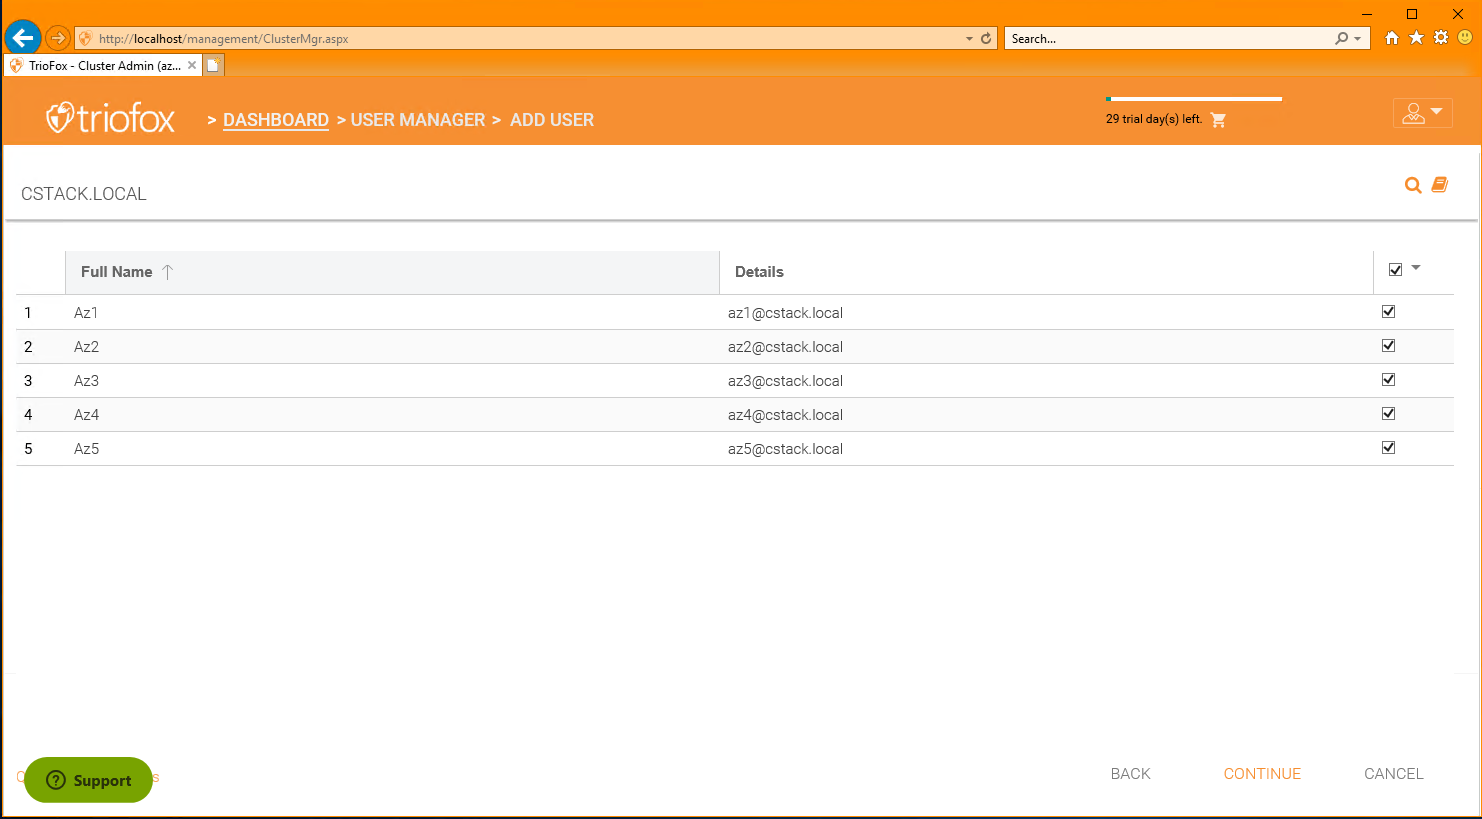
User Management
TrioFox makes it very easy to provision user accounts. IT can import AD users and groups or create and manage native TrioFox user accounts.
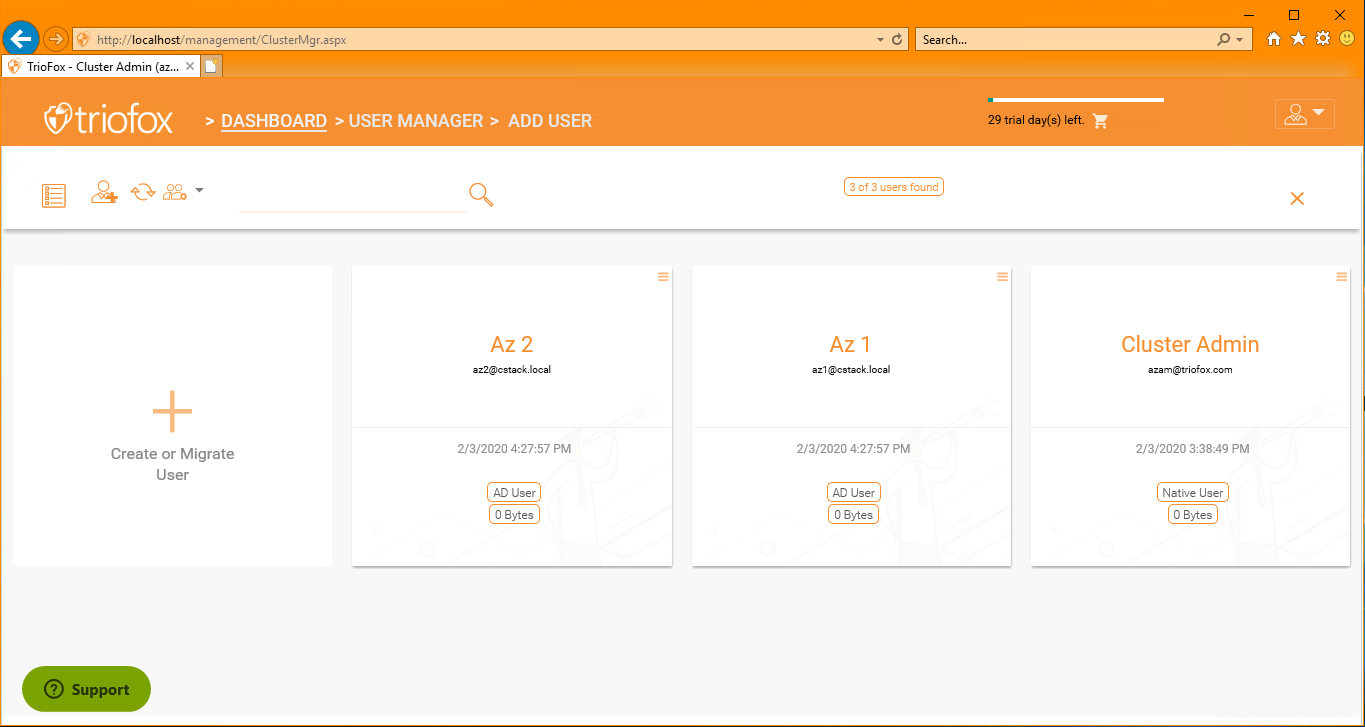
- Click on Users plugin in the right panel.
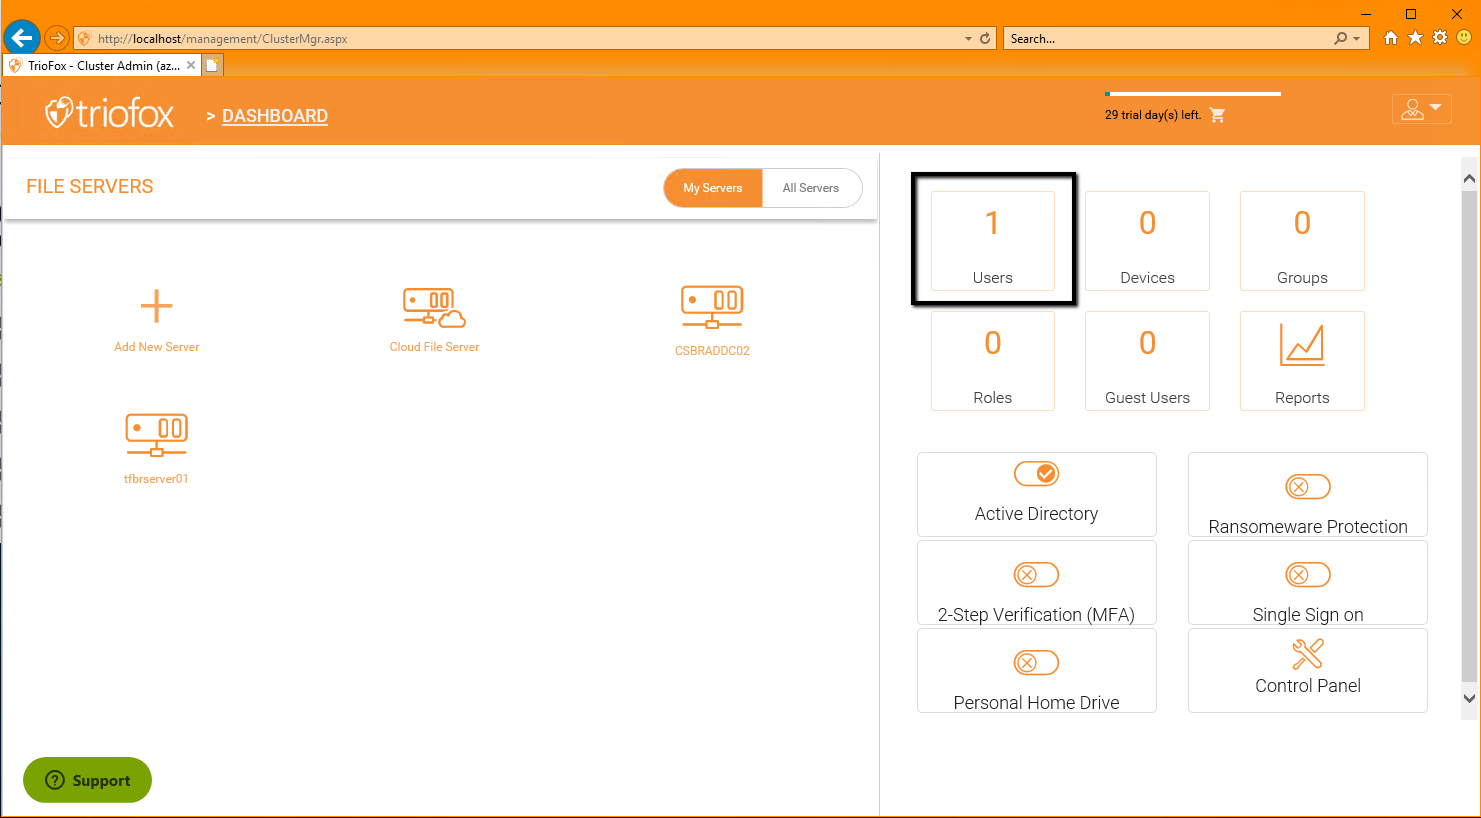
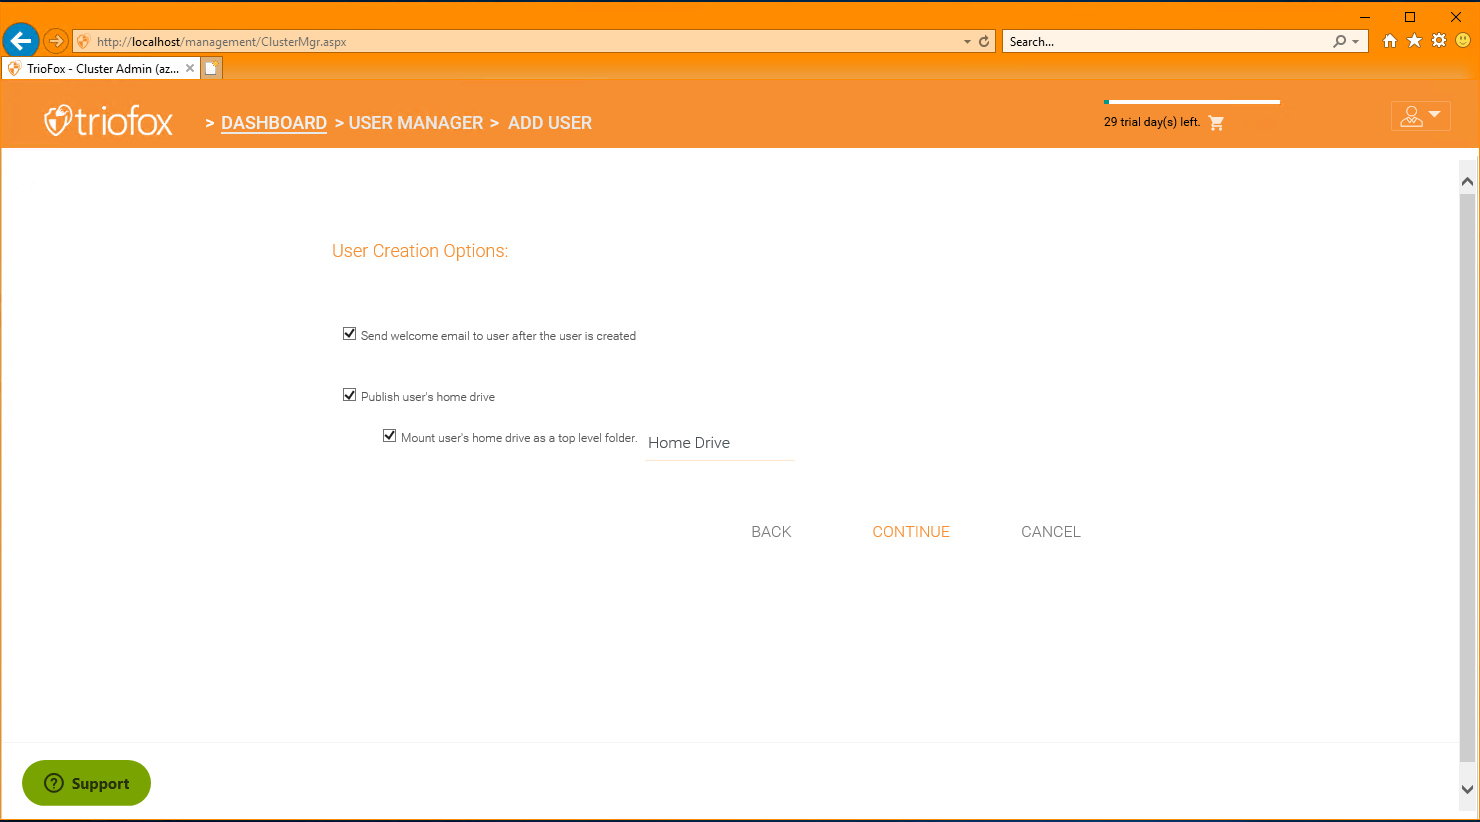
- Click Create or Migrate Users.

- Select the option desired for adding new users.
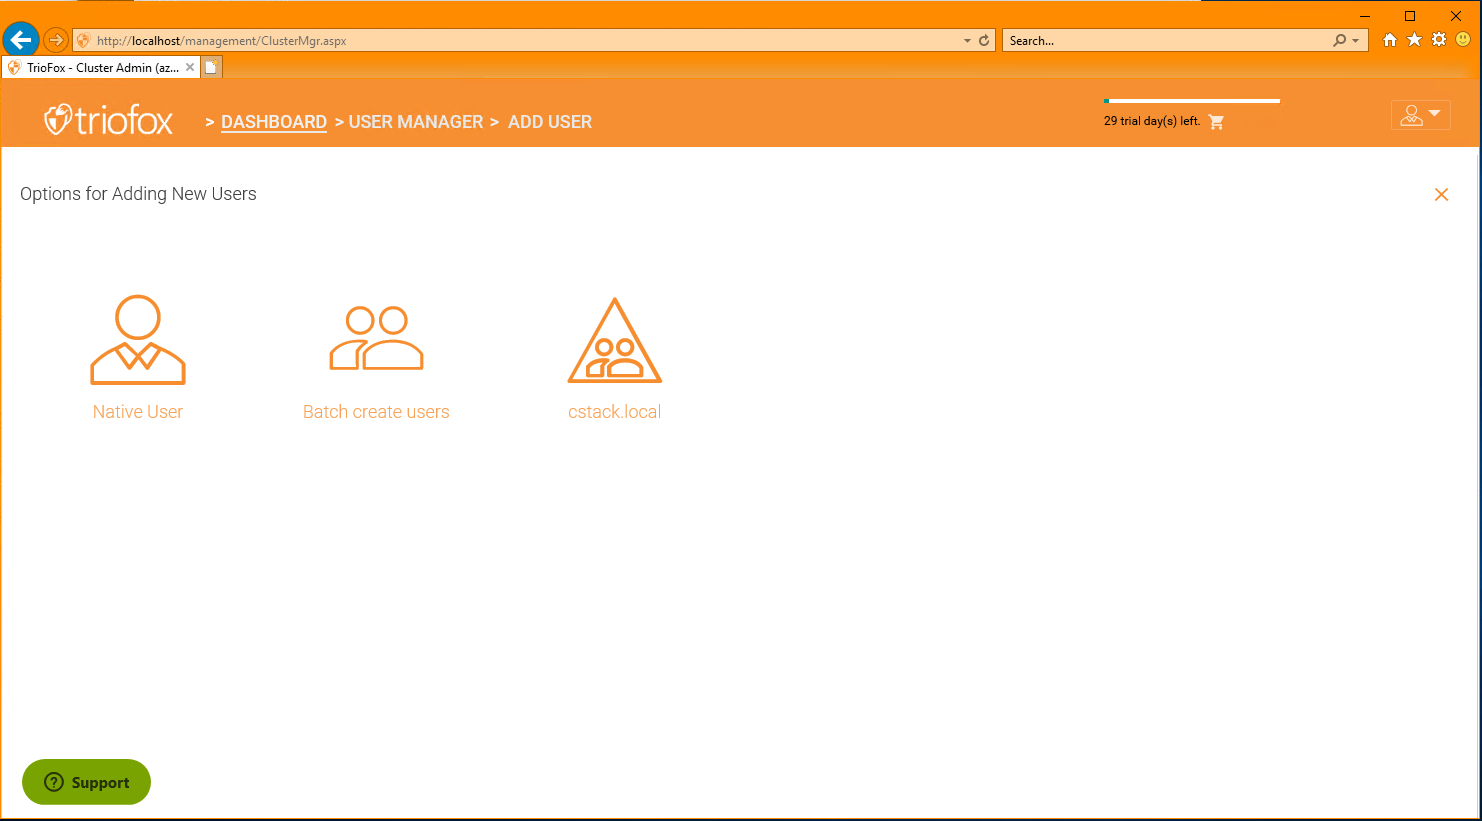
- For example, if Active Directory option is selected, then IT can browse to AD users and/or groups to import.
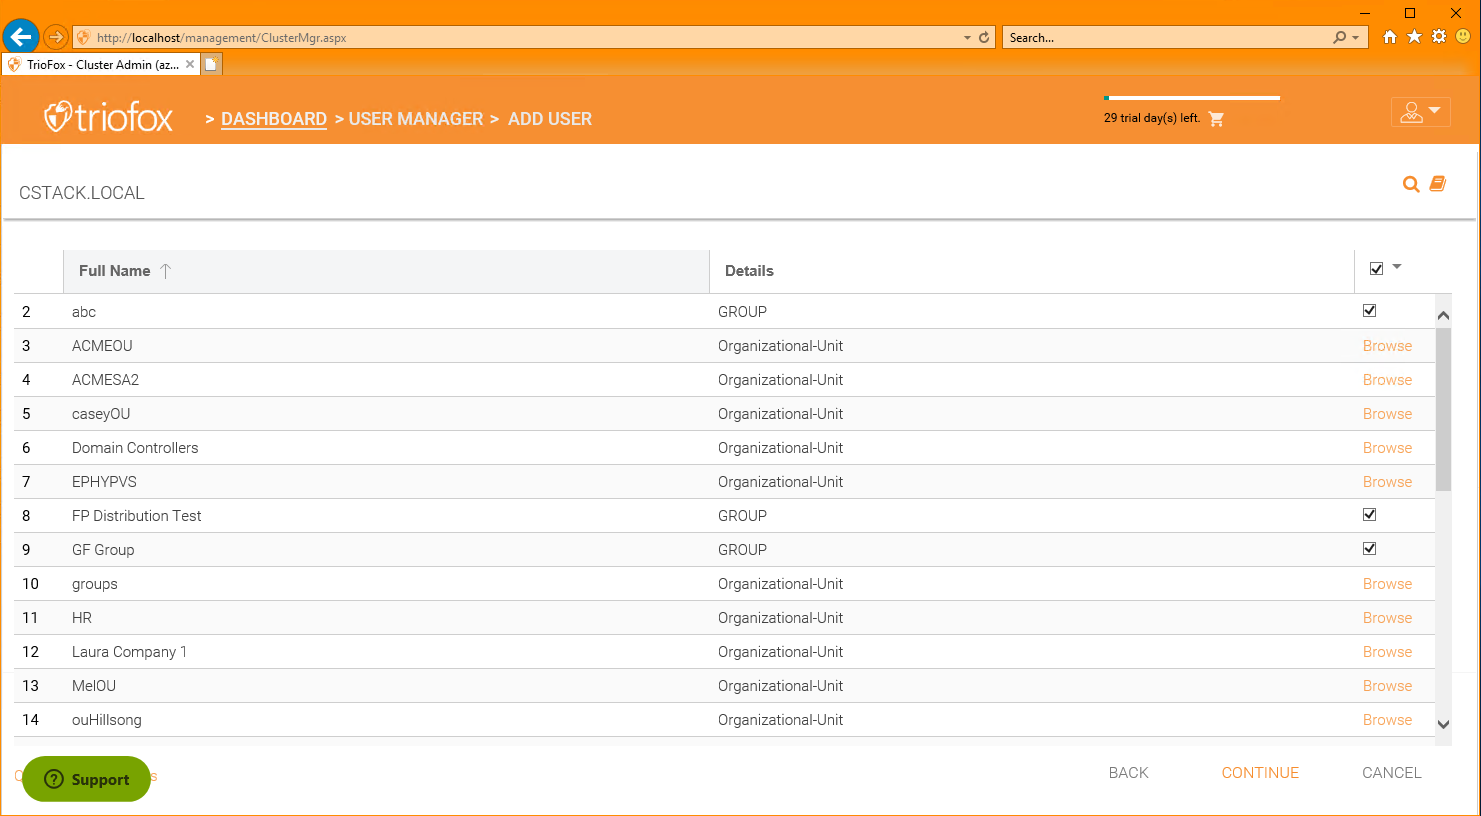
- Select the users or groups and click Continue.
- Users Active Directory can also be published and will be presented to the users upon their login.
- Once imported, user accounts will be listed under user manager.
Download Clients
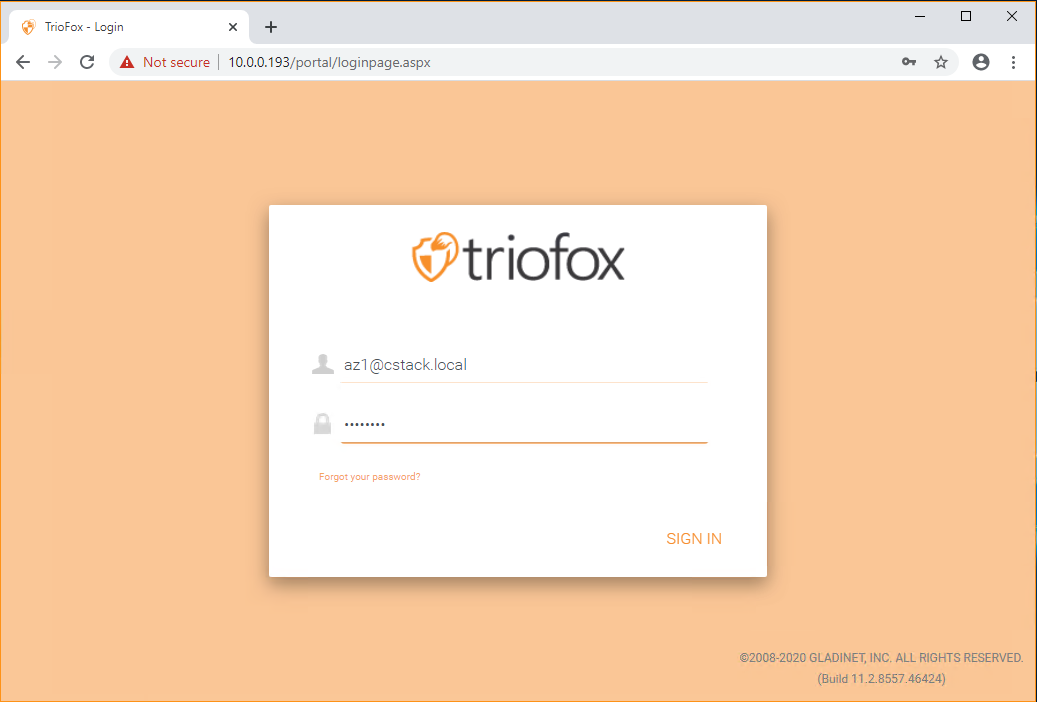
Users can download the clients directly from their web portal login in order to access the files and folders in a mapped drive on their machines and mobile devices. In order to test from outside your network, a secure (https) access point and a public DNS name is required. Secure (https) access point is also required for mobile clients.
- Login using your Active Directory or TrioFox credentials and the access point provided by IT.
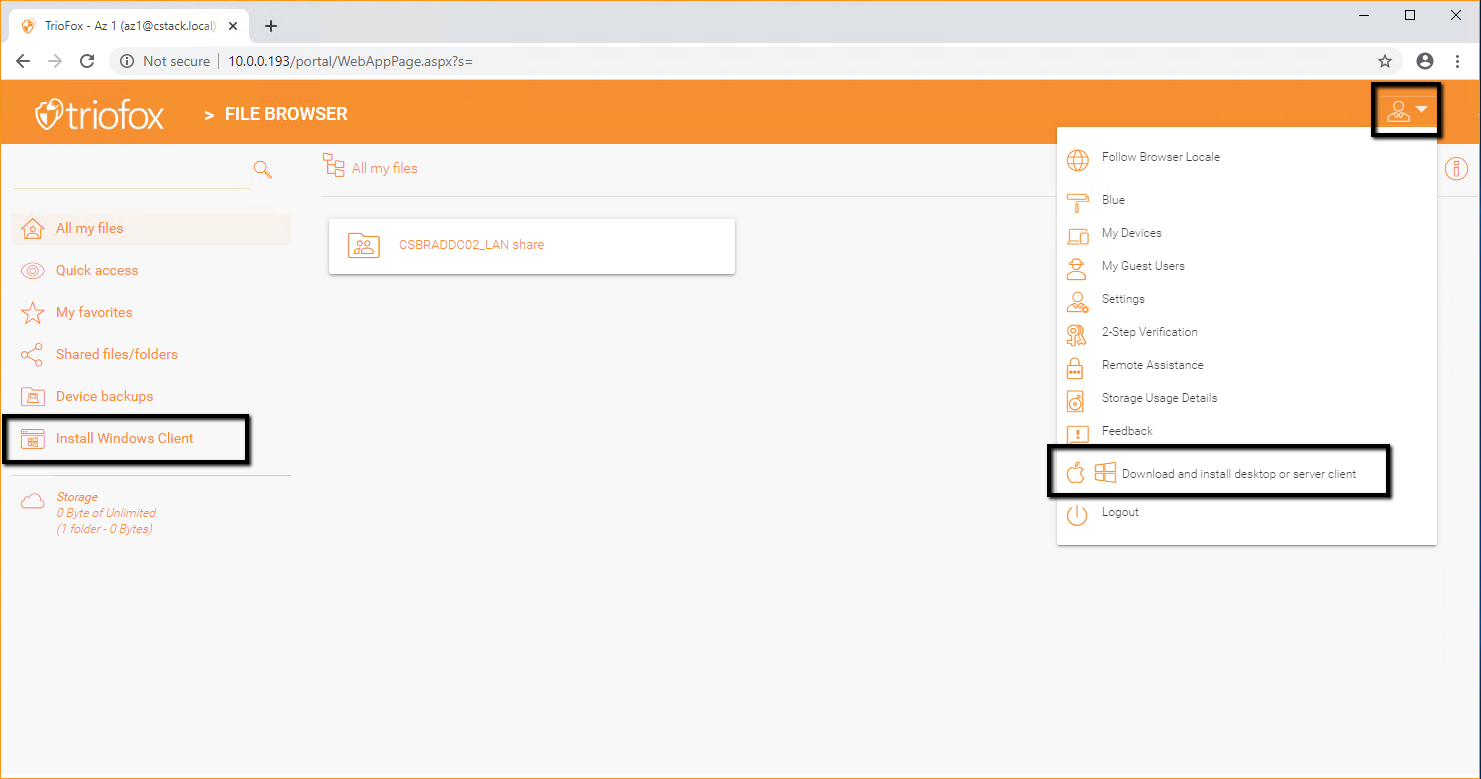
- Click ‘Install Windows Client’ on the left or ‘Download and install desktop or server client’ under user icon in the upper right.
- Choose the appropriate client based on your platform.

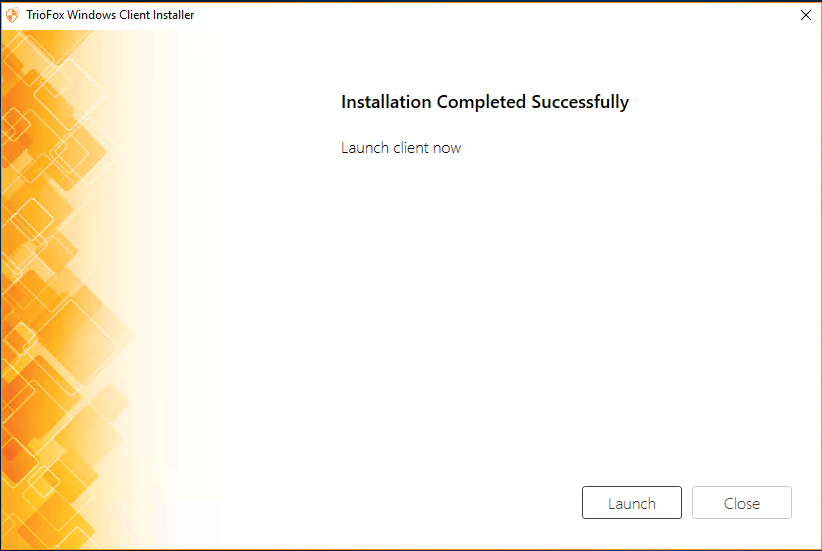
- Finish the installation by clicking the Install button.
- Click Launch
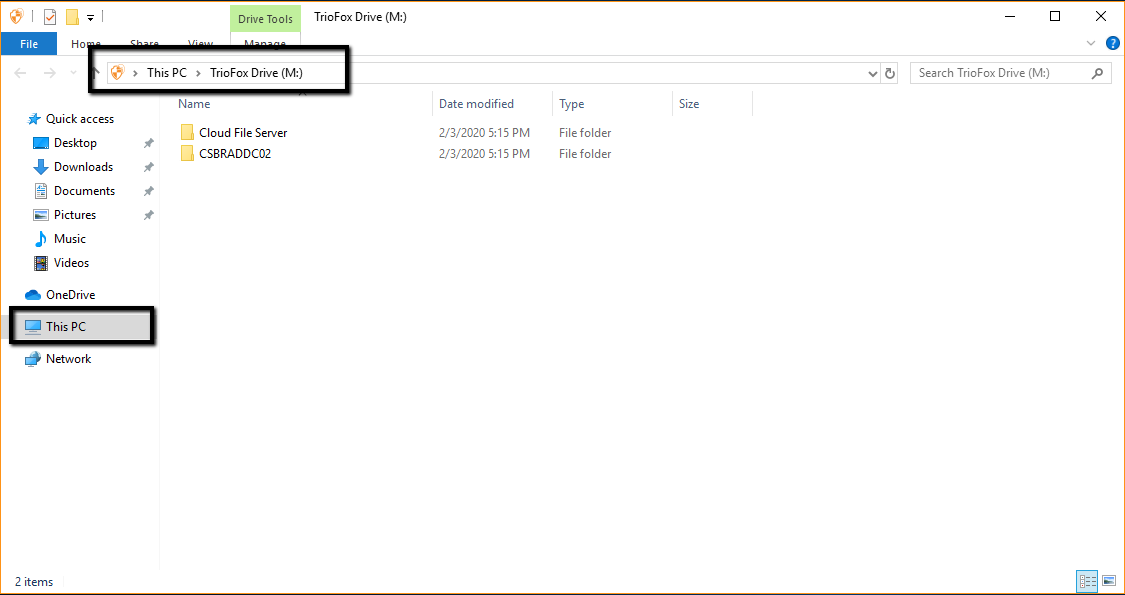
- Users will see the cloud mapped drive on their machines.
Conclusion
TrioFox is the only solution that enables seamless integration with your existing Active Directory along with maintaining and security of existing NTFS permissions on file server shares. Users get a familiar mapped drive on their Windows and MACs as well as easy access from their mobile devices like iPhones and Androids. Please do not hesitate to contact us at 1 888 955 6656 or ticket@gladinet.com if you have any questions.